
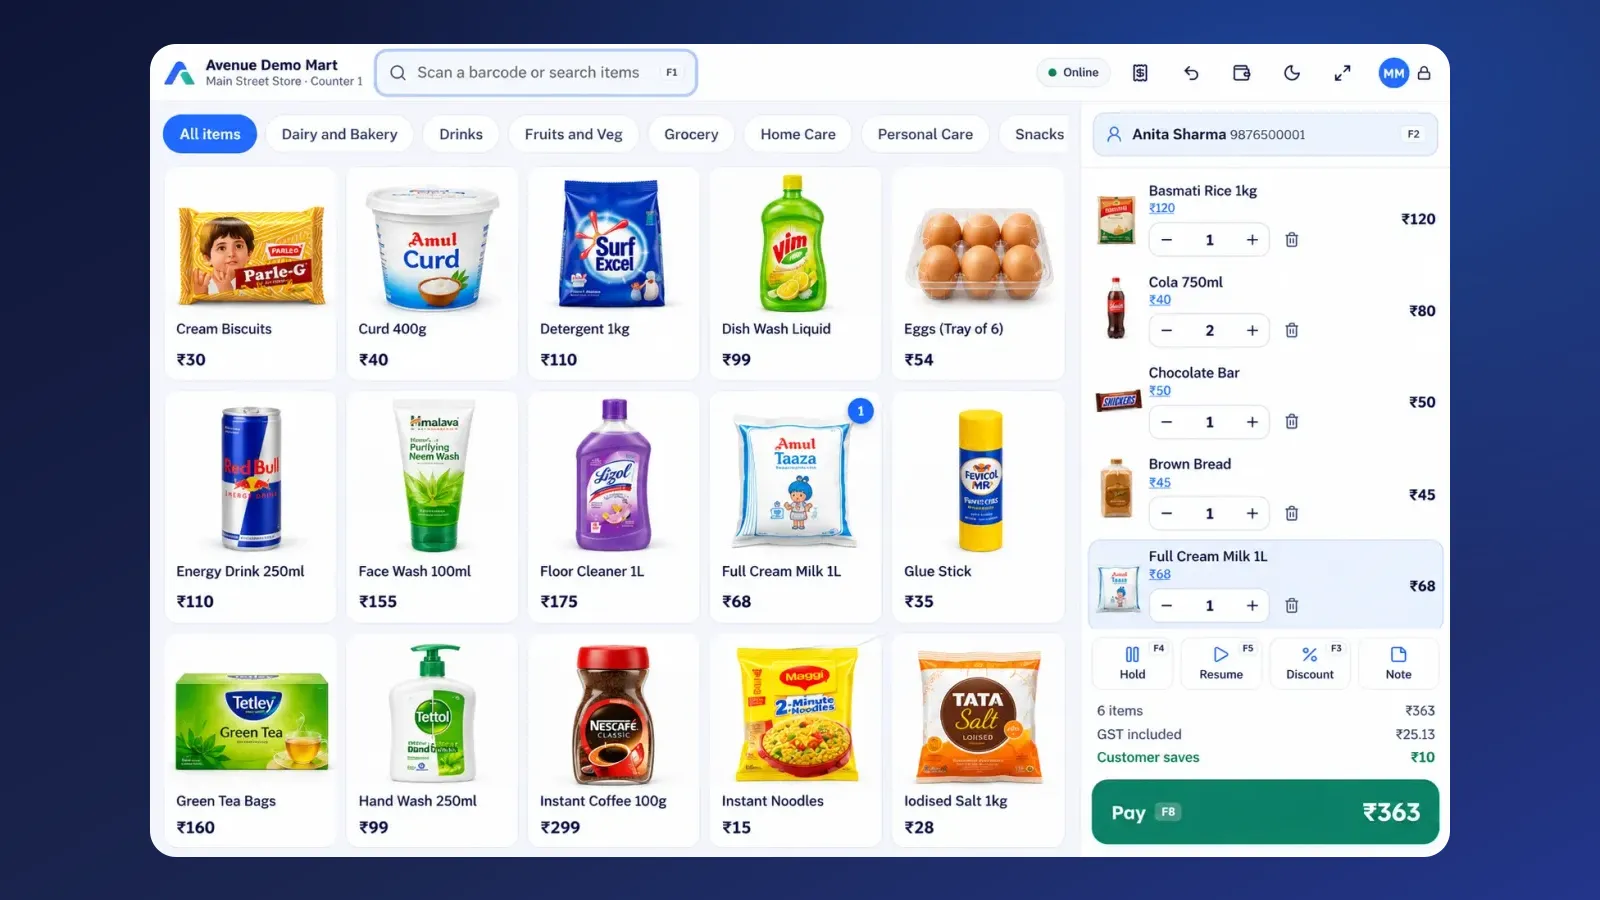
Switching a running shop to POS software feels like changing the engine of a bus while it is moving. The shop cannot stop. Customers keep coming, the helper keeps billing, and the festival season does not wait. That fear is why many owners delay the change for years.
The good news is that it is much easier than it feels, if you do it in the right order. This guide gives you a calm, step-by-step plan, used by shops of all sizes, with a launch checklist at the end. The principle is simple: prepare before, run both systems side by side for a short time, and then switch.
Before you start: three decisions
- Choose the software. Use a checklist and a trial, not a salesman's promise. See How to Choose the Best POS Software for Your Retail Store.
- Choose the start date. Pick a quiet week, not Diwali week or the first week of the school season. A Tuesday is a better start day than a Saturday.
- Choose a project owner. One person, you or a trusted manager, who is responsible for the changeover. Without one, it drifts.
Step 1: Prepare your item list (1 to 2 days)
Your item list is the heart of the system. Time spent here saves a lot of trouble later.
- Collect the data. Export what you have from your old software or Excel, or list items from your stock register.
- Clean it. Remove duplicates, fix spelling, and write consistent names. "Parle-G 100g" and "Parle G Biscuit 100 gm" should not be two items.
- Add what is needed: selling price, cost price, GST rate, HSN code if you are GST-registered, unit (piece, kg), and a barcode if there is one.
- Start with your top 100 to 200 items that make most of your sales. You can add the long tail later.
- Import it. Good software lets you upload an Excel sheet, shows a preview and points out rows that need fixing before anything is saved.
Example: a stationery shop in Jaipur has 3,000 items, but 150 of them make most of the sales in the first week of the school season. Starting with those 150 gets the counter running in a day, and the rest can be imported in the evenings. (Shops like this are described on our page for POS software for stationery and book shops.)
Step 2: Set up your shop in the software (half a day)
- Enter your business details, GSTIN, address and bill footer, such as "Thank you, visit again".
- Choose whether prices include or exclude GST.
- Set the payment modes you accept: cash, UPI, card, store credit.
- Create staff logins: you, the manager and each cashier get their own PIN.
- Set discount limits for each role, such as 5% for a cashier.
- Set your opening stock figures from your latest count.
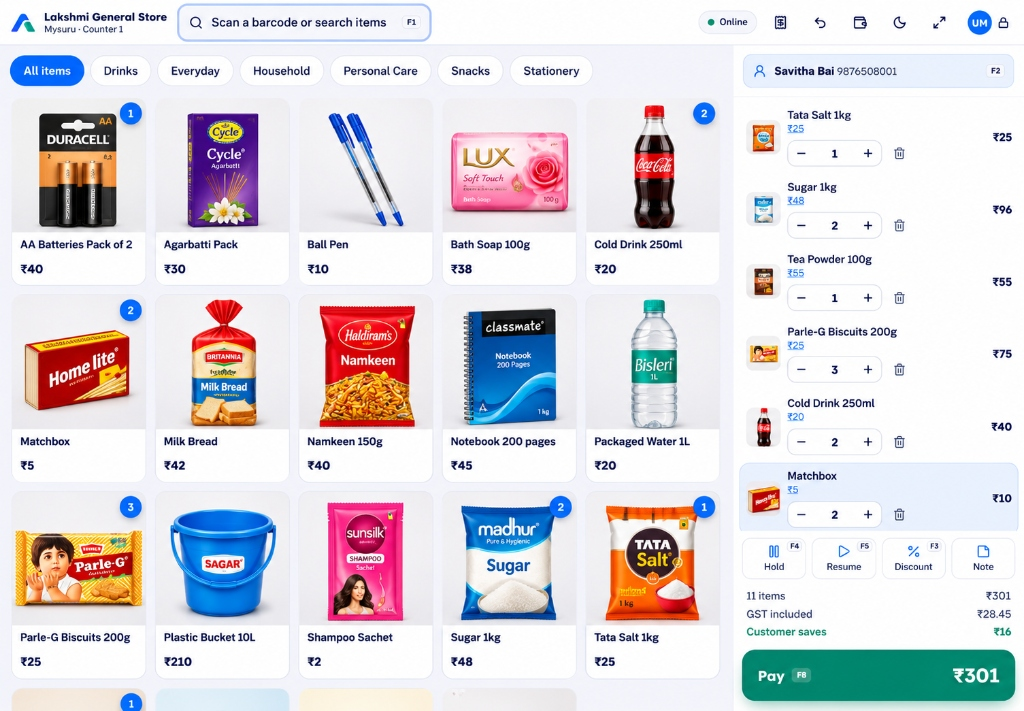
Step 3: Set up the hardware (half a day)
- Connect the barcode scanner. Most USB and Bluetooth scanners work like a keyboard and need no setup.
- Connect and test the receipt printer. Print a test bill, and check the paper width: 2-inch or 3-inch.
- If you use a cash drawer, test that it opens on a cash bill.
- Keep a small power backup for the counter if power cuts are common.
- Test offline billing: switch off the Wi-Fi, bill a few items, switch it on again, and check that the bills arrive once.
If you do not have a scanner yet, start without one. You can search by name or tap pictures, and add a scanner next week.
Step 4: Train your team (one slow afternoon)
Training is mostly about confidence. Keep it short and practical.
- Train one person first, the most willing one. Let him train the rest. People learn well from a colleague.
- Practise with 10 test bills. Include a discount, a split payment, a return, and a held bill.
- Teach the shortcuts: search, hold, resume, pay.
- Explain why. "It means no calculator, no price lookup, and no argument about the bill."
- Write a one-page cheat sheet and stick it near the counter.
Ask the manager to practise the approval steps: giving a PIN for a discount above the limit, or for a return.
Step 5: The changeover week
This is the part that removes the fear. Do not switch off the old system on day one. Instead:
| Days | What you do |
|---|---|
| Day 1 to 2 | Bill every customer on the new system, and also write the bill the old way. Compare totals each evening. |
| Day 3 to 4 | Bill on the new system. Keep the old book only for a few random checks. |
| Day 5 to 7 | Fully on the new system. The old book stays closed but kept safely. |
At the end of each day, check three things: the cash total against the drawer, the UPI total against your phone, and the stock of two or three fast-moving items against the shelf. If these match, you are on track. If not, find the reason now, while the old book is still there to compare.
Step 6: After the launch (first month)
- Add the remaining items a few hundred each evening.
- Review the reports weekly: best sellers, slow items, profit, cash differences.
- Fix prices and GST rates as you notice them. Every correction improves the system.
- Ask your staff what slows them, and adjust. A shortcut or a changed item name can save hours.
- Share the sales and tax reports with your accountant, and ask if the format suits them.
The launch checklist
| Before you go live | Done? |
|---|---|
| Top 100 to 200 items imported with price, GST rate and stock | ☐ |
| Business details, GSTIN and bill footer set | ☐ |
| Payment modes set: cash, UPI, card | ☐ |
| Staff PINs and discount limits set | ☐ |
| Scanner and printer tested, test bill printed | ☐ |
| Offline billing tested with Wi-Fi off | ☐ |
| Two staff trained with at least 10 practice bills | ☐ |
| Opening stock noted from the last count | ☐ |
| Old books safely stored | ☐ |
| Start date fixed in a quiet week | ☐ |
Common mistakes to avoid
- Starting in peak season. Learning during a rush is stressful for everyone.
- Importing messy data. A wrong price or a duplicate item will repeat in every bill.
- Switching off the old system too soon. Keep it for a week as a safety net.
- Training only the owner. The people at the counter need the practice.
- Forgetting offline mode. Test it before the first real power cut.
- Not telling regular customers. A short note, "Now with printed bills and WhatsApp receipts", sets a positive tone.
What if something goes wrong?
It will, in a small way. A price may be wrong, a printer may jam, someone may forget a step. This is normal. That is why you keep the old book for a week, and why you start with a slow day. Good support also matters: ask your vendor how you can reach them during your shop's hours. Our own customers, such as Reliance Stationery World in Bengaluru, have said that the system "helps us handle regular billing and maintain better visibility into our sales", and that it is "a useful addition to our day-to-day store management". But they also learned it step by step, and so will you.
Where to start today
- Open a free trial. With AvenuePOS, you get 14 days with every feature, no card needed, and plans start at ₹499 a month.
- Import 50 of your top items from Excel.
- Bill three customers on both systems after lunch, when it is quiet.
- Decide your start date.
If you want to understand the basics first, read What Is POS Software? and 15 Benefits of Using POS Software for Retail Businesses. If you would like us to walk you through it, you can talk to us and request a demo.
The bottom line
Implementing POS software in a running shop is not a big-bang event. It is a series of small, safe steps: a clean item list, a trained team, a week of double billing, and then a quiet switch. Done this way, your customers barely notice, and you get the benefits: faster billing, correct GST, honest stock and a clear view of your shop. Start with a slow week, one counter and your top hundred items, and let the rest follow.